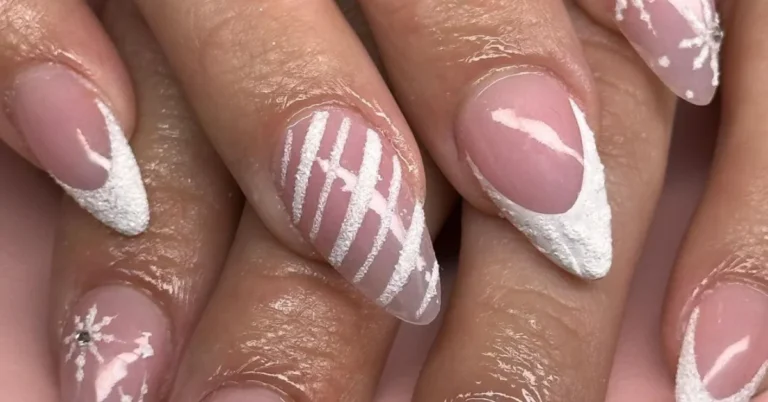
Prepare to master the art of applying press-on nails with our guide titled “How to prep nails for press ons.” In it, we unveil the secrets to securing a seamless, durable application!
How to Prep Nails for Press Ons?
Cleaning and Buffing
First, you’ll want to thoroughly clean your nails. Remove any old polish and wash your hands with soap and water. Some experts suggest going the extra mile by swiping your nail beds with rubbing alcohol to eliminate any oil residue, ensuring your press-ons have a pristine base to adhere to. Don’t forget to gently push back your cuticles for a neat appearance.
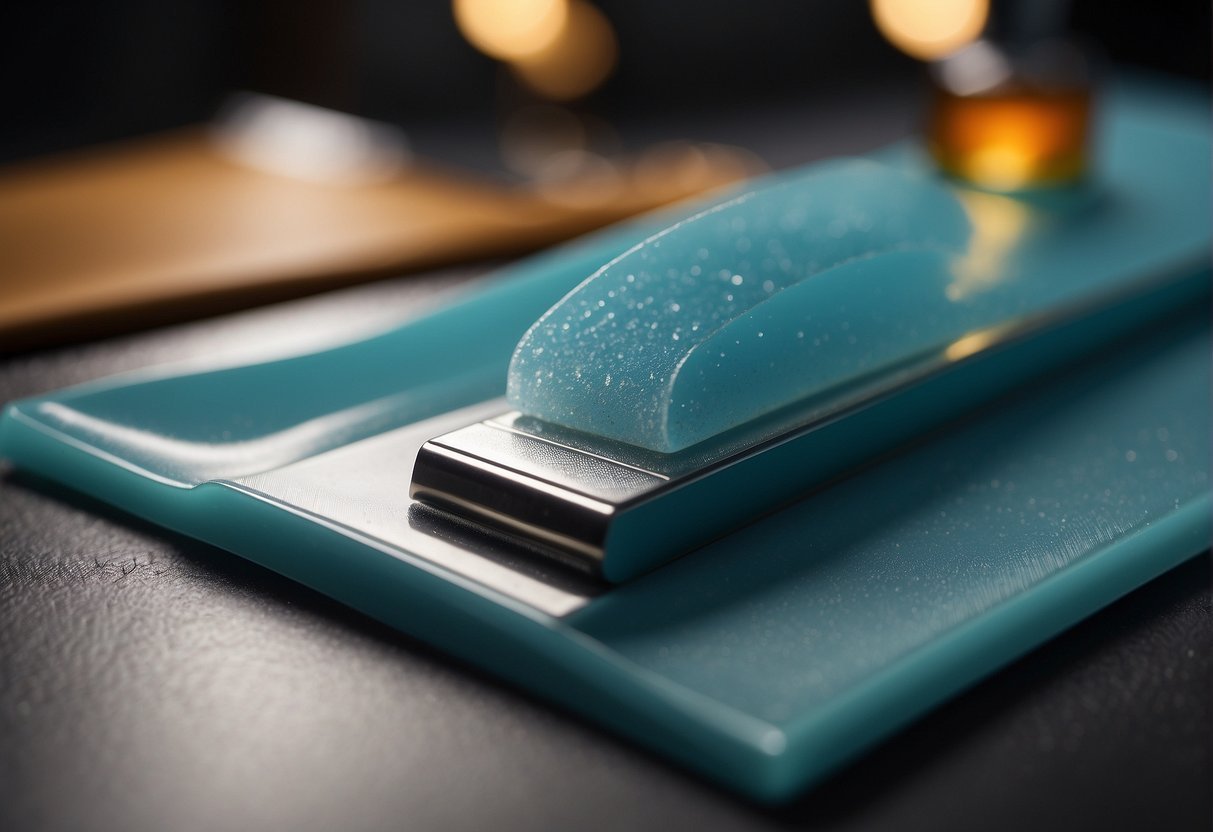
Once they’re squeaky clean, it’s time to buff your natural nails. This isn’t just busy work—buffing creates a slightly rough surface that significantly improves adhesion, which is key for your press-ons to stick around. Use a nail buffer but be gentle; you don’t want to weaken your nails.
Sizing and Fitting Press-Ons
Invest time in this step, as finding the perfect size and fit is crucial!
- Lay out the press-ons to match each nail.
- If you’re between sizes, always go for the smaller one to avoid lifting.
- Remember: Order of application matters! Start with your pinky and save your thumbs for last.
Proper sizing results in not just comfort, but also a more natural look and longer-lasting wear. No gapping or overhanging—just a seamless extension of your own nail.
Applying Adhesive
Finally, the big moment—application! You have two choices here: glue or adhesive tabs. Both have their merits, so choose what works best for you. Glue tends to offer a stronger bond, but adhesive tabs can be less damaging to your natural nail. Here’s a quick how-to:
- Glue: Apply a thin layer of glue to your natural nail and a drop to the press-on. Press firmly for a few seconds.
- Adhesive Tabs: Match the size to your nail, stick it on, peel off the backing, and apply the press-on firmly.
Get ready to flaunt your fabulous press-on nails and feel the joy of a gorgeous manicure without the salon time!
Achieving the Perfect Manicure Look

Embrace the thrill of transforming your nails into a stunning display of artistry right at home! Prepping your nails correctly is the cornerstone of a flawless mani that echoes a professional touch and highlights your personal style.
Applying Press-On Nails
First off, cleanse your nails to ensure an ideal base. Use a nail clipper to trim, and a file to shape your nails to mirror the contours of your press-on nails. Remember, a matching shape is fundamental for that natural look.
Then, gently prepare your nail plate with a buffer, creating a slight roughness that helps the adhesive grip better. When it’s time to apply, a dab of glue on the back of the press-on nail is just what you need. With steady hands, align and press firmly onto your nails. Voilà! You’ve just set the stage for a celebrity nail artist’s level of perfection!
Customizing Your Design
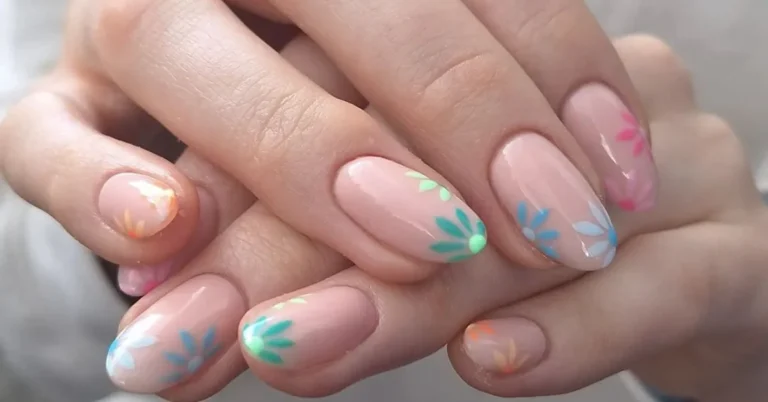
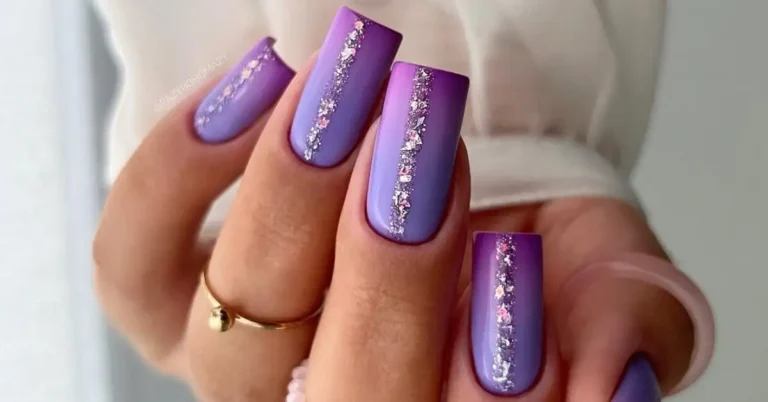
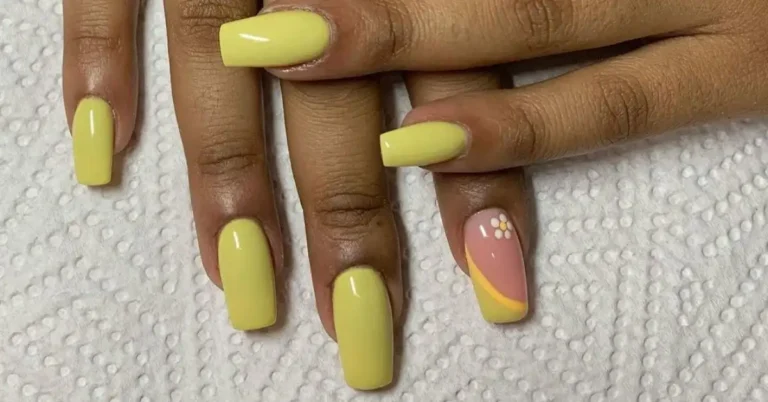
Now for the magic! Unleash your creativity with nail art designs that represent your unique flair. Whether it’s minimalist chic or vibrant patterns, your press-on kit allows for a variety of styles. Paint on a top coat to seal the deal and add that coveted salon gloss.
From shaping to filing, and painting to applying, every step you take infuses personality into your nails. Relish in the freedom to flaunt any look you desire, from subdued elegance to bold expression—your press-on manicure is your canvas!
Maintaining and Removing Press-Ons Safely

Getting the most out of your press-on nails involves a combo of clever application tips and gentle removal techniques. With the right approach, your manicure can last elegantly for up to a full week and come off without harm to your natural nails.
Extending the Life of Your Press-Ons
To ensure your press-on nails look fabulous for as long as possible, start with a clean slate. Clean your nails thoroughly, removing any nail polish or debris, and then buff the surface gently – this gives the adhesive a smoother area to cling to. During application, pressing firmly for about 30 seconds helps secure the bond.
- Daily Care: Be sure to avoid prolonged exposure to water. When doing dishes, for instance, wearing gloves can protect your stylish nails.
- Using a Kit: If you’ve got an impress nails kit or another brand, follow the included instructions for proper application – they’re designed for optimal wear time.
Safe Removal Techniques
When it’s time to remove your press-ons, do it safely to prevent any damage to your nails. Warm, soapy water can loosen the glue, and oils like olive oil or cuticle oil can help too. Here’s your DIY removal process:
- Fill a bowl with warm soapy water and soak your nails for about 10 minutes.
- Gently lift the edges using a cuticle stick – if they don’t budge, soak a bit longer.
- If necessary, use a glue remover product, which can be more effective than plain acetone.
- Cuticle Care: After removing the nails, push back the cuticles with a cuticle-pusher and apply cuticle oil for hydration.
- Buff Away Leftovers: Any residual glue can be buffed off carefully, leaving your nails clean and ready for the next set or a return to natural.
Remember, while acetone or nail polish remover can speed up the process, these can be harsh, so resort to gentle methods first! Your nails will thank you for the extra care, keeping them strong and healthy post-mania.
Frequently Asked Questions

In this section, you’ll find the answers to all your burning questions about achieving a perfect press-on manicure that lasts and how to remove and shape your nails without causing any damage.
What’s the best way to apply press-on nails for a long-lasting manicure?
For a manicure that keeps up with your dynamic life, start with clean, oil-free nails. Follow that up by using a high-quality adhesive or nail glue, and ensure you apply the press-ons firmly, applying pressure to set them securely. Learn more about proper application from Byrdie’s press-on nails guide.
How can you effectively remove press-on nails without damaging your natural nails?
Soak your nails in warm, soapy water or apply a cuticle oil around the edges of the press-ons to gently lift them without forcing them off. Patience is key to preserving the integrity of your natural nails. Find out more about gentle removal from Harper’s BAZAAR’s suggestions.
Can you share tips for shaping press-on nails to perfection before application?
Absolutely! Match the press-ons to your natural nail shape for an undetectable finish. Gentle filing in one direction will help you achieve the desired shape without cracking or splitting the nails. Details on shaping can be found at InStyle’s press-on nail guide.
What are the steps involved in using glue for press-on nail application?
Applying a thin layer of glue to both your natural nail and the press-on will secure a durable bond. Avoid getting glue on your cuticles and hold the press-on in place for a few seconds to ensure it adheres well. Instructions for glue application are outlined by Good Housekeeping.
Should I buff my natural nails before applying press-on nails for better adhesion?
Yes, lightly buffing your nails will remove natural oils and create a rougher surface for the press-on nails to adhere more strongly. Just be gentle to avoid weakening your nails.
What techniques can prevent press-on nails from popping off prematurely?
Ensure your nails are completely dry before application, avoid using hand creams or oils prior to applying the press-ons, and apply them with the right amount of pressure for sufficient time to create a lasting bond.
How do you prepare your nails for press on nails?
To prepare for press-ons, clean your nails with polish remover, push back cuticles, and lightly buff the nail surface for better adhesion.
Should you buff nails before press ons?
Yes, gently buffing nails before applying press-ons removes shine and helps the adhesive bond more effectively.
What is the secret to keeping press on nails on?
The secret to keeping press-ons on is using a good quality adhesive, applying on clean, dry, buffed nails, and avoiding water for a few hours after application.
Do you need primer and dehydrator for press on nails?
A primer and dehydrator aren’t necessary for press-ons, but they can improve adhesion and longevity, especially if you have oily nails or want extra hold.
If you liked this blog article about the question “How to Prep Nails for Press Ons”, don’t forget to leave us a comment down below about what you think of the article and whether it inspired you.

