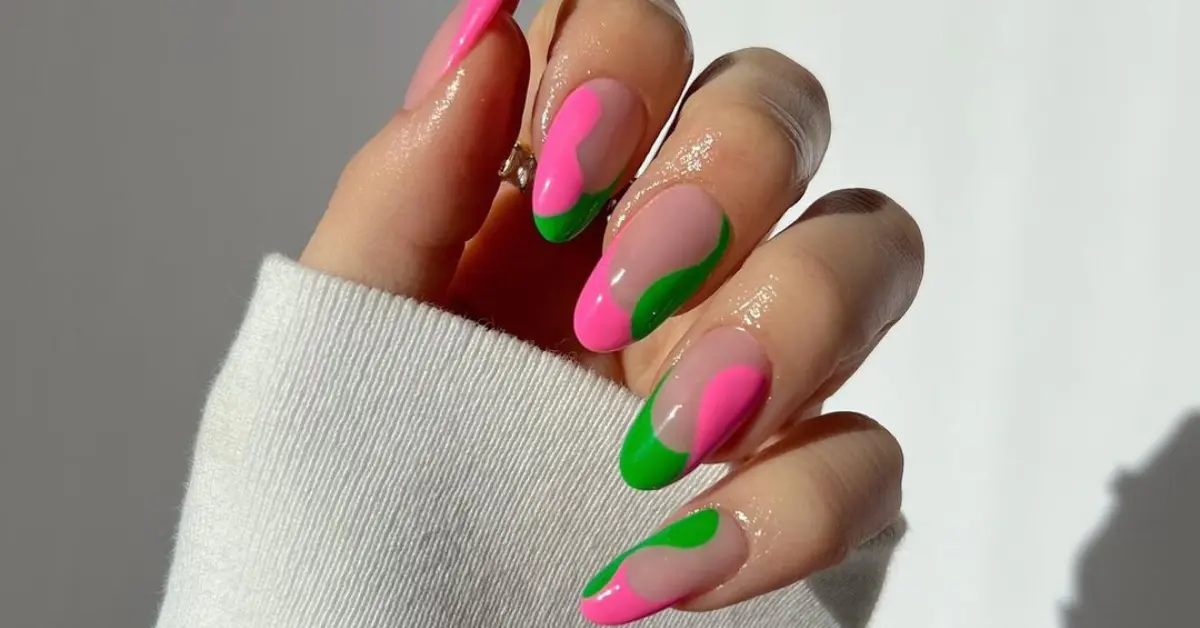
This spring break, the emphasis in nail fashion is on showcasing individuality while adding a hint of sophistication. As someone who is deeply interested in the latest nail design trends, I’m thrilled about experimenting with various styles, from minimalist, polished appearances to vibrant, intricate designs. The allure lies in opting for charming pastel colors or detailed floral motifs, curated not only for their aesthetic appeal but also to enhance my spring break experiences, regardless of where I go.
Cute Spring Break Nails You Need to Try Right Now


Spring break is the perfect time to showcase vibrant and playful nail designs. This season’s top trends blend pastel shades with eye-catching patterns, ensuring your nails are ready to impress, whether on the beach or sipping a cool drink poolside.
Pastel Perfection
I’m seeing pastel shades everywhere, and for good reason. These soft hues are perfect for embodying the springtime spirit. My favorites include baby blues, delicate lilacs, and pastel swirls that twirl gently across each nail like a soft spring breeze. Adding subtle sparkle or tiny pastel blooms can elevate the design from simple to simply stunning when I go for a pastel look.
Fresh French Tips
The timeless French manicure gets a contemporary twist with fresh interpretations. Think beyond the classic look; it’s all about experimenting with negative space, bold color block French tips, or minimalist designs that feature a hint of chrome nails on the tips. Sometimes I love adding a strip of lilac or even a thin line of sparkle hovering above the tip for that extra special touch that captures the light wonderfully.
DIY Spring Break Nail Art
Preparing for spring break, I love adding a splash of vibrancy to my nails. It’s a fun way to celebrate the season and showcase my style, even if the plan is just hanging out with friends or enjoying the warm, sunny weather.
Basic Tips for Home Manicure
Before diving into the exciting world of spring-themed nail art, it’s essential to understand the foundation of a good home manicure. Here’s a straightforward guide to ensure your nails look professional without having to commission a salon visit:
- Gather the necessary tools: Include a file, buffer, cuticle pusher, nail clippers, and your favorite nail polish brands, such as Essie.
- Prep your nails: Trim and file them to your desired shape—spring nails look great, both long and short!
- Clean and care for cuticles: Gently push back your cuticles. This step is crucial for a clean-looking manicure.
- Apply a base coat: This helps prevent staining and prolongs the wear of your polish.
- Let each coat dry thoroughly: Patience is key to avoid smudges and dents!
Spring-Themed Nail Art Techniques
Spring-themed designs are my go-to when it’s time for some DIY creativity. They’re playful and express the joy of the season.
- Vibrant Colors: Opt for bright colors that reflect the spring mood—think sunny yellows, sky blues, and lush greens.
- Negative Space Designs: These offer a modern look and are surprisingly simple to achieve. Use tape to block off areas before applying polish, and remove it while it is still wet.
- Chic Sparkle: A little glitter or a sparkle topcoat can elevate your look from everyday to festive.
- Jelly Nails: This translucent look is trendy and fun. It uses sheer colors to create a stained-glass effect.
- Floral Accents: Small flowers can be dotted onto nails with a bobby pin or specialized dotting tool for those without a steady hand.
By embracing these techniques, my DIY nail art always turns out to be eye-catching and perfect for any spring break activity.
FAQ
How to do spring nails?
For spring nails:
1. Apply a base coat.
2. Choose pastel or bright colors.
3. Add floral designs or geometric patterns.
4. Finish with a top coat.
How do you freestyle your nails?
Freestyle your nails by applying a base coat, then spontaneously creating designs with various colors and nail art tools. Finish with a top coat.
How to do Easter nails?
To do Easter nails:
1. Apply a pastel base coat.
2. Paint Easter motifs like eggs, bunnies, or chicks.
3. Use a dotting tool for details.
4. Seal with a top coat.
If you liked this blog article about Spring Break Nails, don’t forget to leave us a comment down below about what you think of the article and whether it inspired you.

