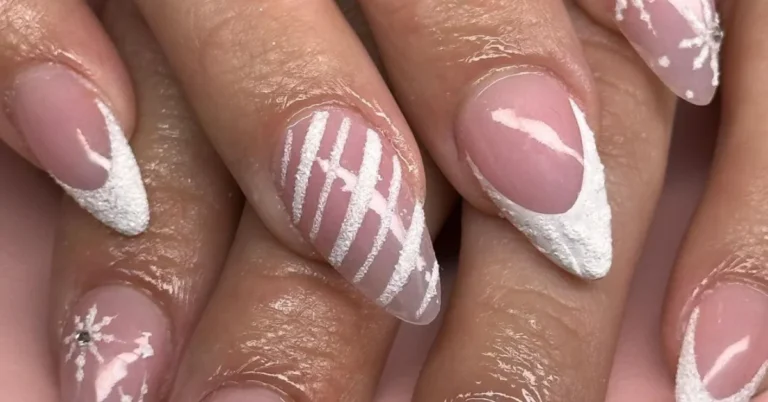
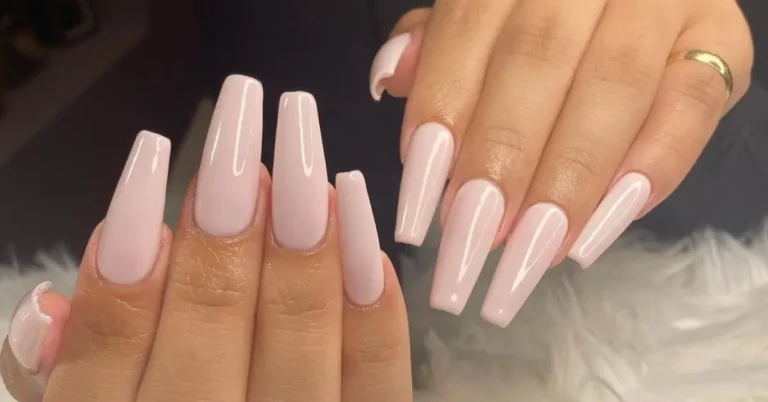
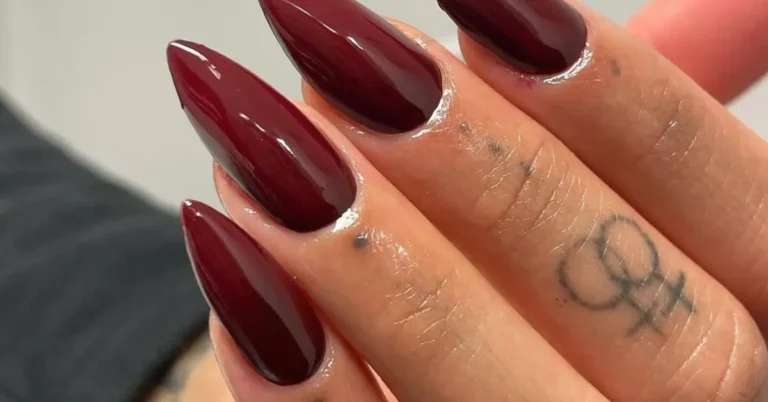
Attaining that effortlessly stylish almond nail shape is simple with our newest guide titled “How to file almond nails.” We’ll walk you through every essential step to easily achieve the sought-after silhouette!
How to File Almond Nails? The Prep
Assessing Nail Health and Length
First, take a good look at your nails. You’re aiming for almond nails, which means you’ll need some length to create the shape. Check that each nail is strong and free from signs of splitting or damage. If you’ve got nail polish on, reach for a gentle nail polish remover to clear the way for your manicure masterpiece.
|| Healthy || Unhealthy ||
|—————|:—————-:|
| Even nail plates | Visible splitting |
| No discoloration | Brittle texture |
| Strong nails | Weak, peeling tips |
Trim any uneven edges with a curved nail clipper, but leave enough length to form that desirable almond shape. Healthy nails are the foundation of a stunning nail art, so use a nail brush to clean under the nail bed and rid yourself of any dirt.
Selecting the Right Tools
Your toolkit for perfect almond nails should include:
Nail file: Choose a quality nail file with the right grit. For natural nails, a 180-grit file is an excellent choice for shaping, while a 240-grit file works best for finishing.
Buffing block: Smooth out any rough areas on the nail plate and achieve that gleaming, ready-to-paint surface.
Nail clippers and scissors: Equip yourself with these for tackling length and keeping things tidy. For those with nail extensions or harder-to-cut gel nails, sturdy clippers or specialized scissors are a must.
Glass files: Consider a glass file if you’re looking for a durable option that seals the nail edge and reduces the chance of splitting.
Conquer the prep, and you’re halfway to having the chic, elegant almond nails that are all the rage in the world of manicures!
Shaping Almond Nails
Embrace the transformative power of shaping almond nails at home with precision and ease! By mastering the right trimming and filing technique, you can sculpt your nails into that coveted, finger-slimming shape. Let’s dive into creating the perfect almond profile, step by step.

Trimming and Filing Technique
Before you begin, select the proper tools: a good quality nail file with 180-grit for shaping and 240-grit for smooth finishing is essential. You’ll want to ensure your nails are clean and free of old polish, and if you’re working with length, use nail clippers to trim to a manageable size that still allows for the almond shape.
When filing, adopt a technique that respects the integrity of your nails: file in one direction only to avoid damage. Sawing back and forth can cause peeling and weaken your nail structure.
Creating the Almond Shape
Kickstart shaping by filing the sides of your nails towards the center, observing symmetry to ensure an even almond shape. It’s all about sculpting a wider base that gradually tapers to a peak, reminiscent of an actual almond. Think of merging the softness of oval nails with the edginess of stiletto nails, stopping at a graceful tip, avoiding the severity of mountain peak or coffin shapes.
To perfect the almond form, focus on the tip; it should neither be too pointed nor too round, striking a delightful balance. You’ll want to frequently check the shape from different angles to assess symmetry and make necessary adjustments with precision and care. Engage in gentle strokes with the file to refine and shape almond nails, molding a profile that’s at once elegant and bold.
Finishing Touches and Nail Care

After shaping your almond nails to perfection, it’s crucial to protect your investment by nourishing your nails and showcasing your style through nail art. It’s not just about the look; it’s also about keeping your nails healthy and strong.
Nourishing the Cuticles and Nail Bed
Regularly applying cuticle oil to your nails can prevent them from becoming dry or damaged. Here’s how you can give your nails the care they deserve:
- Cuticle Oil: Apply high-quality oil to moisturize and heal the cuticle and nail bed. This keeps your nails healthy and prevents hangnails.
- Cuticle Pusher: Gently push back your cuticles with a cuticle pusher. This will prevent rough edges and overgrown cuticles from marring the beauty of your almond nails.
- Hydration: Keep your hands and nails hydrated by applying a moisturizer, especially after using nail polish remover, which can be drying.
Enhancing with Nail Art and Polish
Your almond nails are a perfect canvas for nail art and polish. The unique shape provides a versatile base for a variety of designs.
- Nail Polish: Choose a high-quality nail polish or go for a classic with a French manicure. The almond shape makes for an elegant French tip.
- Nail Art Pen: Unleash your creativity with a nail art pen for detailed designs or floral patterns.
- Top Coat: Finish off your manicure with a clear top coat to protect your nail polish and art, adding a glossy finish and preventing chipping.
Incorporate these finishing touches, and your almond nails will not only look fabulous but remain vigorous and healthy. Enjoy your stunning manicure and the admiring glances it will surely attract!
Frequently Asked Questions

In this section, you’ll find expert advice and step-by-step guides to achieve your dream almond nail shape right at home, no matter your starting nail type.
What’s the best technique to shape short nails into an almond form at home?
To shape short nails into an almond form at home, start by filing the sides of your nails towards the center at a slight angle, using a 180-grit nail file. Focus on maintaining symmetry to create the almond appearance.
Can you guide me through filing acrylic nails into a flawless almond shape?
Certainly! Begin by marking a midpoint at the tip of your acrylic nails. Then, gently file from the edges towards the marked center to taper the nail into a rounded point, resembling an almond shape.
Is it possible to reshape my natural nails into an almond contour, and how would I do it?
Absolutely! To reshape your natural nails into an almond contour, gradually file the sides to converge towards the tip. Keep filing in one direction until you’ve achieved the desired almond outline.
How much length is required for nails before crafting that ideal almond shape?
For an ideal almond shape, you typically need some length beyond your fingertip. This allows for enough space to create the tapered sides and rounded tip characteristic of almond nails.
I have square nails; how can I transform them into an elegant almond style?
Transitioning from square to almond nails involves softening the corners of your square nails first. Then, file the edges towards a point at the top, rounding them out to a soft peak to form the almond shape.
What are the secrets for refining almond nails to absolute perfection?
The secret is in the details. For refining almond nails, ensure you file in a single direction to avoid weakening the nails. Take your time to smooth out any rough edges, and consistently compare both hands for symmetry.
How do you file perfect almond nails?
To file perfect almond nails, taper the sides towards the tip and round the peak to create an oval shape that points slightly at the end.
How long do nails need to be for almond shape?
Nails should be at least a quarter-inch past your fingertip to shape them into an almond, as this allows room for the tapered sides.
How do you shape almond nails to square?
To reshape almond nails to square, file the tips straight across and then soften the corners to create the desired squared edges.
How do you file oval nails?
For oval nails, file the sides equally and round out the tips, keeping the curvature consistent with the natural shape of your cuticle.
If you liked this blog article about the question “How to File Almond Nails”, don’t forget to leave us a comment down below about what you think of the article and whether it inspired you.


